Your producer approves a rough cut, but opening it in Premiere reveals a different problem: the sequence exists, yet its media, notes, and audio do not line up as expected. Premiere Pro AI video editing works best when you distinguish native assistance from imported editorial work. Use Premiere’s tools for the tasks they perform directly, and verify any external assembly before treating it as an approved starting point.
The useful question is not whether the cut imports. It is whether a Premiere editor can revise it confidently while retaining the intended source material and editorial context.
Key Takeaways
- Separate Premiere’s native search and transcript tools from an external rough-cut platform’s capabilities.
- Specify the exact interchange format instead of asking a supplier for an unspecified XML file.
- Validate source ranges, media relinking, audio layout, and markers before continuing the edit.
- Keep the approved reference render alongside the imported sequence during conform review.
- Reserve final pacing, meaning, finishing, and delivery approval for the production team.
Table Of Contents
- What Does Premiere Pro AI Video Editing Cover?
- When Does An External Rough Cut Make Sense?
- Which Export Should You Request?
- How Should You Check The Imported Sequence?
- How Do You Move From Assembly To Final Edit?
- What Should A Premiere Pilot Demonstrate?
- FAQs
- Conclusion
What Does Premiere Pro AI Video Editing Cover?
Premiere’s native AI-assisted functions and a separate editorial platform solve overlapping but distinct tasks. Start with the tools your editors already have before deciding which additional capability is needed.
Adobe’s Media Intelligence documentation distinguishes semantic visual search from exact transcript and metadata matching. This matters when an editor expects a conceptual search to behave like a precise quotation lookup.
Create a small internal task map: finding a visual moment, selecting dialogue, assembling a proposed story, reviewing it, and finishing it. For each task, record the current tool, owner, and measurable problem.
Do not assume that a third-party platform’s advertised feature appears inside Premiere or shares Premiere’s internal analysis data. Treat the exchange boundary as a separate requirement. It needs its own demonstration, supported configuration, and documented output.
When Does An External Rough Cut Make Sense?
An external assembly step is worth evaluating when producers need to prepare and review a proposed sequence before a craft editor begins detailed work. The case is weaker when your existing Premiere process already handles the assignment efficiently.
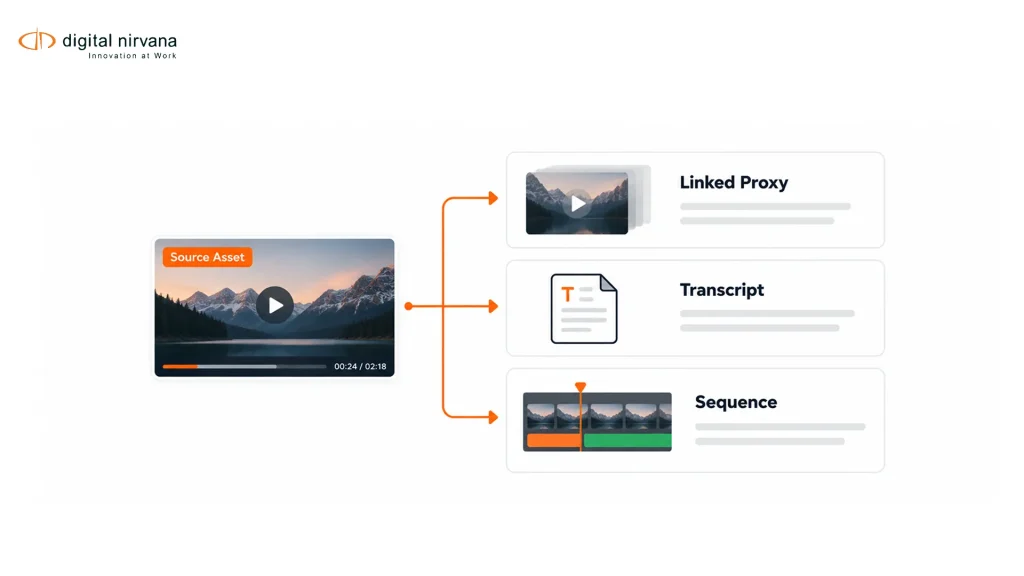
Digital Nirvana describes RoughCut’s editorial preparation as feeding established finishing tools. That makes the proposed sequence and its accompanying context the evaluation target, rather than a claim that RoughCut replaces Premiere.
Use an illustrative interview assignment with multiple speakers and a defined story brief. Ask the producer to approve the assembly, then ask a Premiere editor who did not create it to make a change. Record where that editor must reconstruct decisions or locate missing context.
If the receiving editor has to repeat the entire source review because notes are absent, account for that work. The value of upstream preparation depends on what remains useful downstream.
Which Export Should You Request?
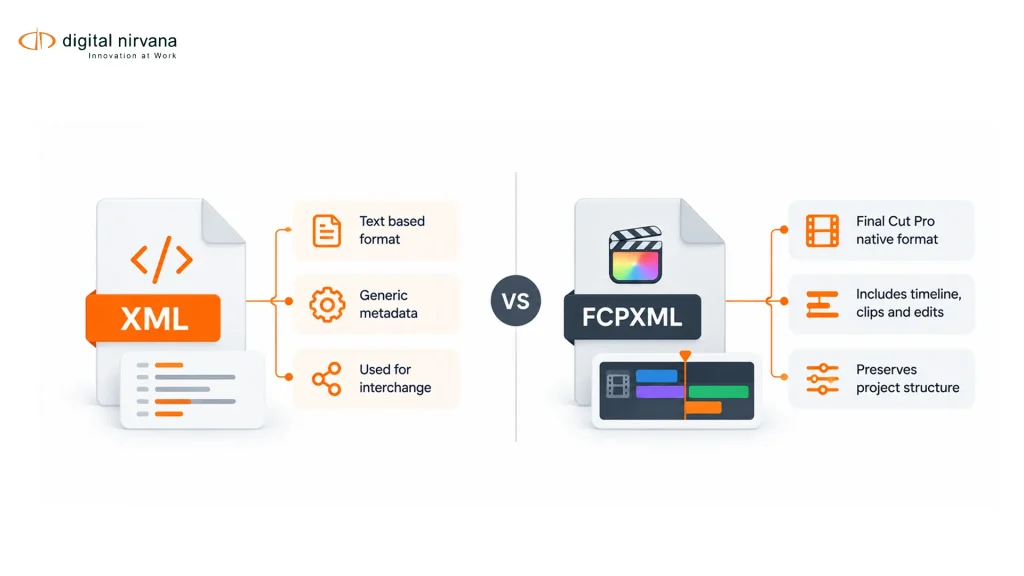
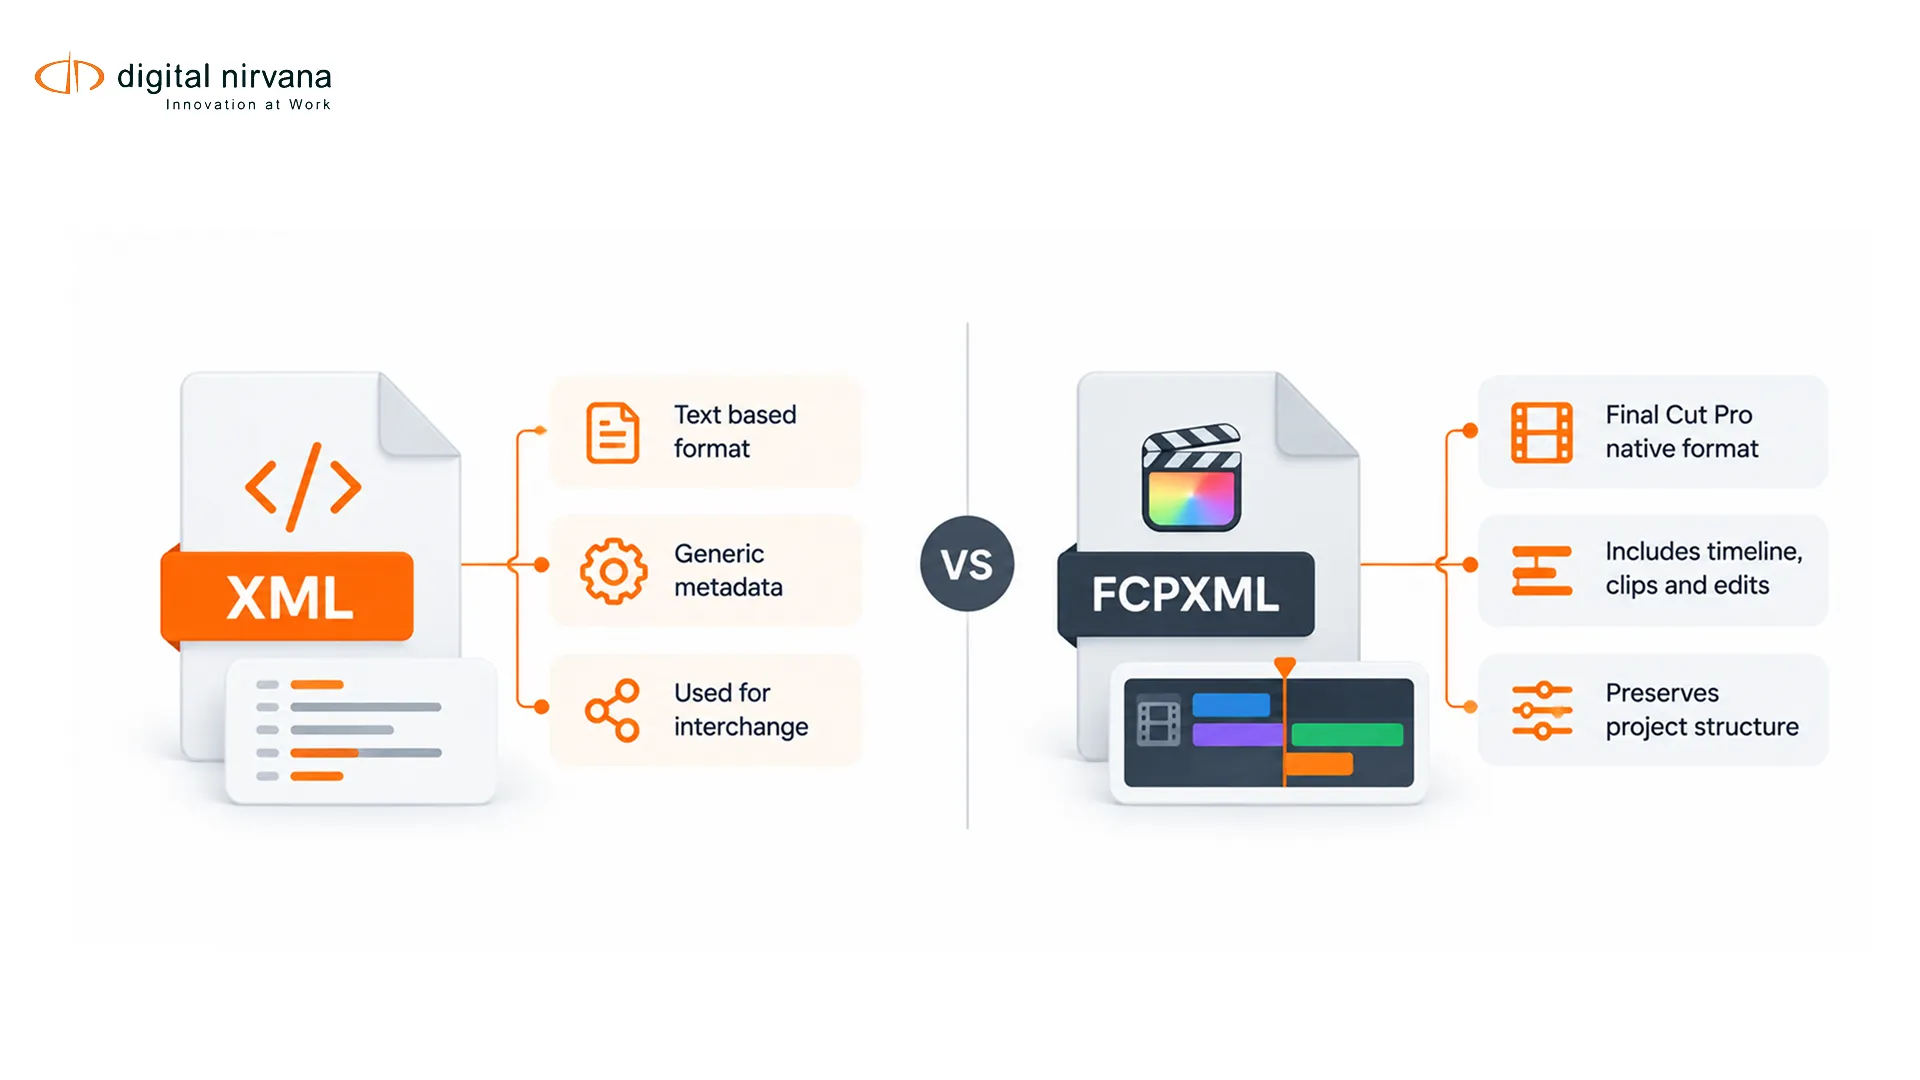
Request the named format and version supported by both the sending platform and your Premiere workflow. “XML” describes a family of document formats and is not a sufficient compatibility specification.
Adobe states that Final Cut Pro X FCPXML cannot be imported directly into Premiere. Digital Nirvana’s RoughCut launch announcement identifies XML as its Premiere export route. Confirm the exact profile in your pilot rather than substituting an export intended for another application.
Also specify whether the package references originals, proxies, or newly created media. The person receiving it needs to know where those files live and which identifier or path is used to reconnect them.
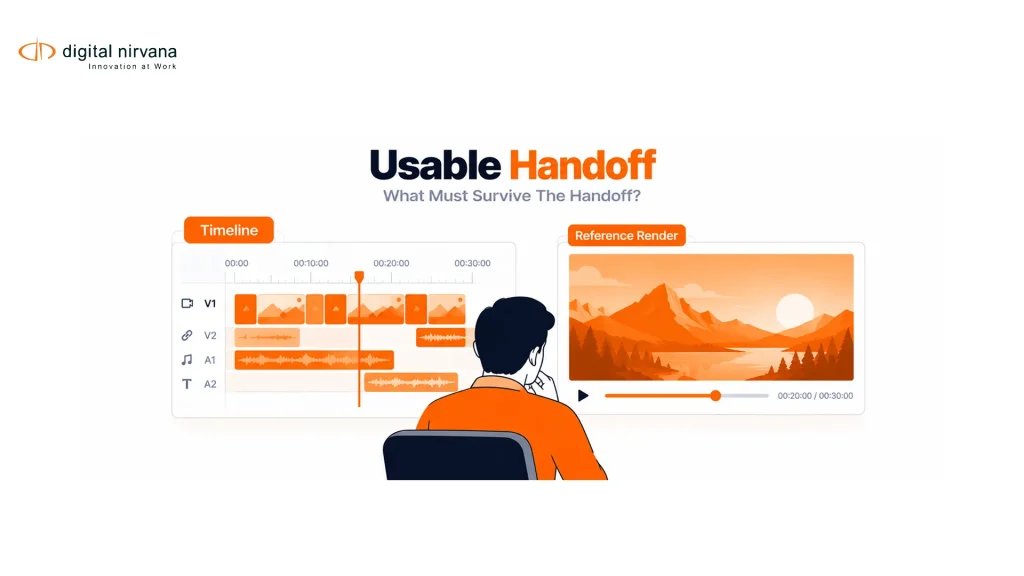
Ask for a reference render from the same sequence version. It provides a visual and audible comparison while the editor checks the imported timeline, especially where translation behavior is uncertain.
How Should You Check The Imported Sequence?
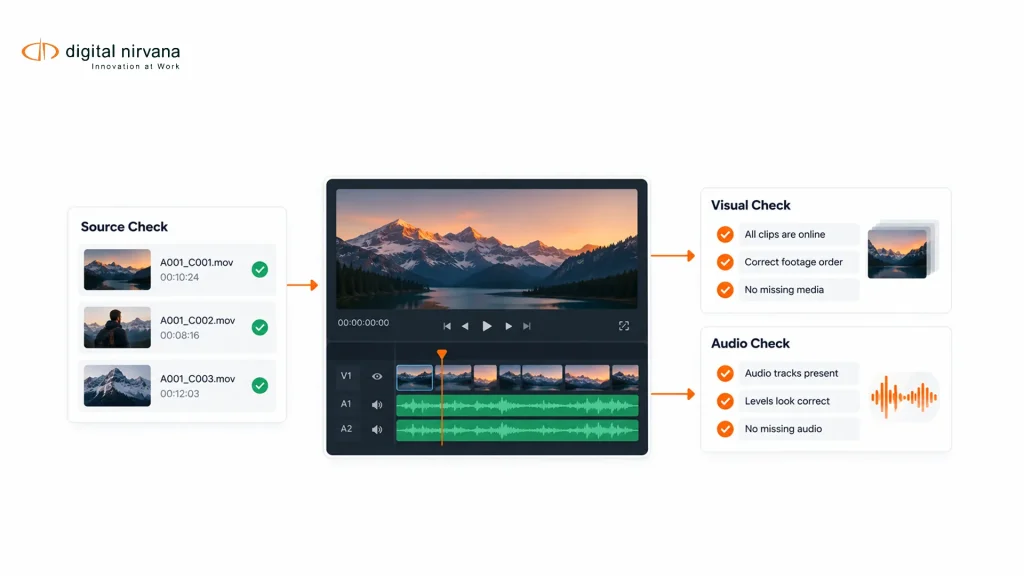
Check the sequence against its source and reference render before making creative revisions. Use a duplicate of the imported sequence for acceptance testing so the original handoff remains available for comparison.
| Check | What To Compare | What A Failure Means |
| Media identity | Timeline item and original asset | The wrong source may be linked |
| Source range | First and last used frames | Selection or time interpretation may differ |
| Audio layout | Expected channels and audible result | Tracks may need remapping |
| Editorial notes | Comment and referenced moment | Review context may be detached |
| Sequence duration | Timeline and approved reference | Gaps, overlaps, or rate interpretation need review |
| Complex elements | Retimes, nested material, transitions | Rebuilding may be required |
This is a proposed checklist, not a statement that every import loses those elements. Establish which cases are relevant to your facility and keep examples as regression material.
For source-range issues, review your timecode and indexing practices before blaming the assembly itself.
How Do You Move From Assembly To Final Edit?
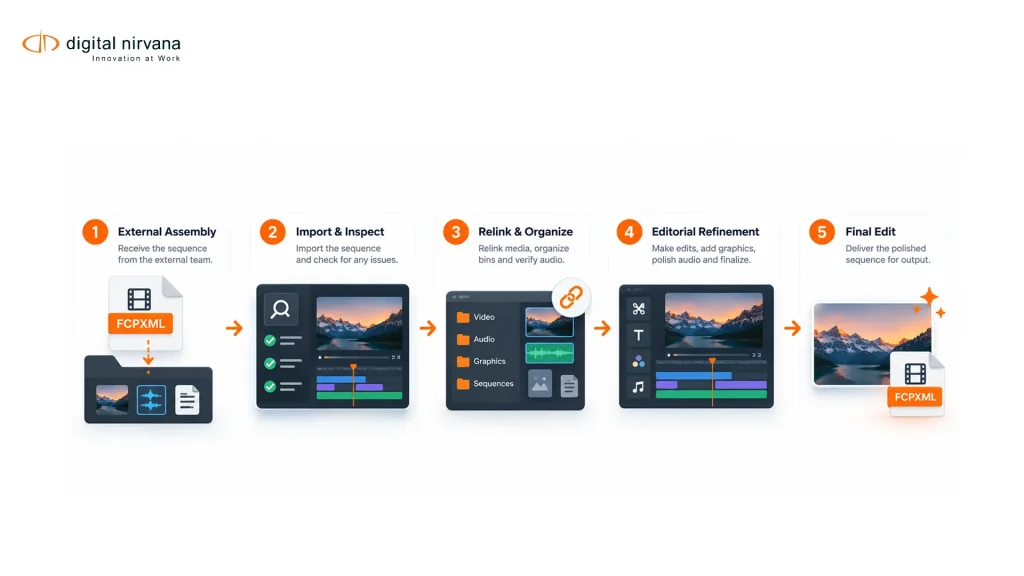
Treat the accepted assembly as a starting point for editorial refinement. First confirm meaning and structure, then work through pacing, visual continuity, audio, graphics, color, and the deliverables required by the brief.
Listen to speech edits without looking at the transcript. A cut can preserve readable words while creating an abrupt breath, a misleading pause, or a change in emphasis. Watch the surrounding material when a statement depends on a preceding question.
Keep revisions attributable to a sequence version. If a producer changes the approved story after the import, distinguish that new direction from a defect in the exchange process. Otherwise the pilot will incorrectly count ordinary editorial development as technical repair.
Review generated or altered imagery under your organization’s editorial policy. Retrieval and assembly of recorded material should not silently become permission to invent events, replace dialogue, or conceal changes to documentary evidence.
What Should A Premiere Pilot Demonstrate?
The pilot should prove that an unfamiliar receiving editor can open, inspect, and revise the handoff using the agreed workstation configuration. Record the Premiere version, operating system, media types, export profile, and any additional components.
Use the same diagnostic material when either side changes. Test routine clips and the cases most likely to expose translation differences, such as separate audio, unusual starting timecodes, mixed-rate sources, and deliberately placed markers.
Measure active preparation, inspection, and repair time separately. An output that imports immediately but requires extensive reconstruction may be less useful than a slower handoff with reliable context.
End the pilot with a documented supported path and a list of exceptions. The finishing team should know which elements it can trust, which it must inspect, and which it must recreate before starting a live deadline assignment.
FAQs
Premiere includes AI-assisted functions, including media discovery and transcript-based workflows. Their capabilities should be checked against Adobe’s documentation and the installed version.
RoughCut is presented as an upstream editorial platform that can supply work to finishing applications. Evaluate the handoff into Premiere rather than treating the two products as interchangeable.
They are not interchangeable export specifications. Premiere’s support depends on the particular format, so confirm the exact export profile before transferring an assembly.
The imported references may not resolve to the expected accessible files. Check paths, identifiers, permissions, and whether the package expects proxies or originals before relinking.
Do not assume full preservation of effects or complex timeline elements. Test the features used in your actual sequence and document any rebuilding requirements.
Finish in the environment that meets the assignment’s technical and creative requirements. The approved rough cut should move into that environment with its source references intact.
Conclusion
Begin with one accepted rough cut and one receiving Premiere workstation. Prove the source mapping and review context before measuring speed. Bring the resulting requirements to a workflow demonstration with Digital Nirvana so the discussion centers on a usable edit.